
Bài viết hướng dẫn cách tạo Static web host tại Amazon S3, có thể access từ public Internet. Đồng thời custom domain sử dụng Route 53 (optional)
Lưu ý
AWS Region: US East (N. Virginia) us-east-1
Creating a S3 bucket
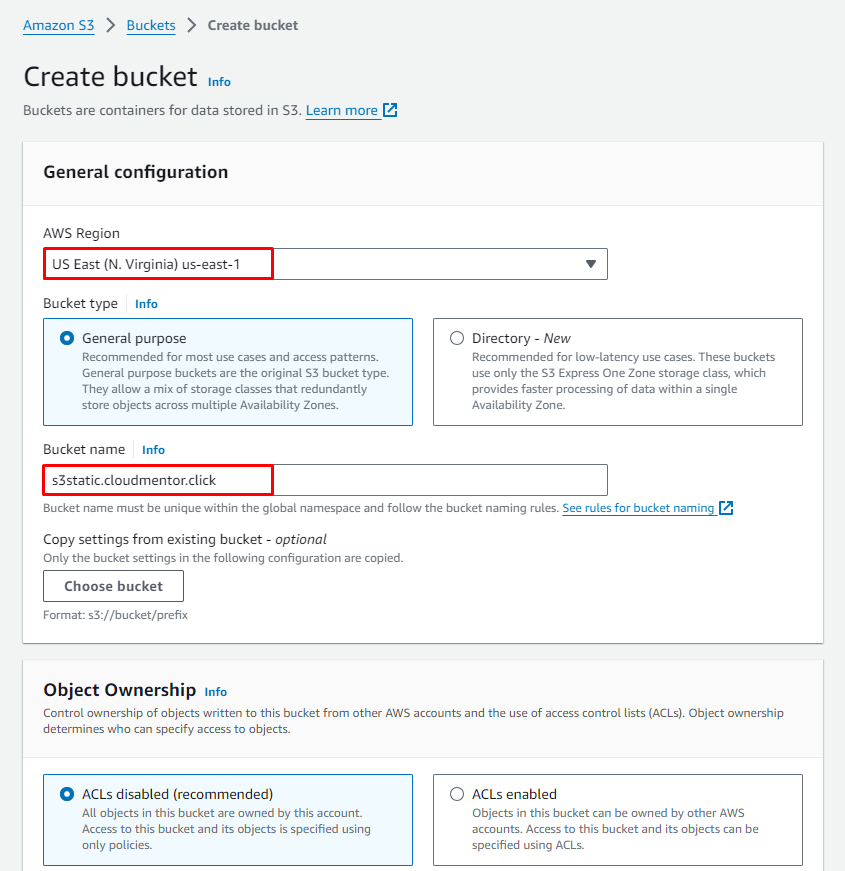
Tại Console S3 -> Create Bucket
AWS Region: US East (N. Virginia) us-east-1
Bucket name:
- Trường hợp đã mua domain ở Route53: đặt bucket name = s3static.{your-domain} (ví dụ mình đã mua domain là cloudmentor.click nên mình sẽ đặt bucket name là s3static.cloudmentor.click). Lý do là lát nữa mình sẽ customize domain của web static ở Route 53
- Trường hợp chưa mua domain: đặt với tên bất kỳ, miễn là không trùng với tên bucket nào khác, Ví dụ d-s3-static-website-{your-name}
Block Public Access settings for this bucket: Uncheck 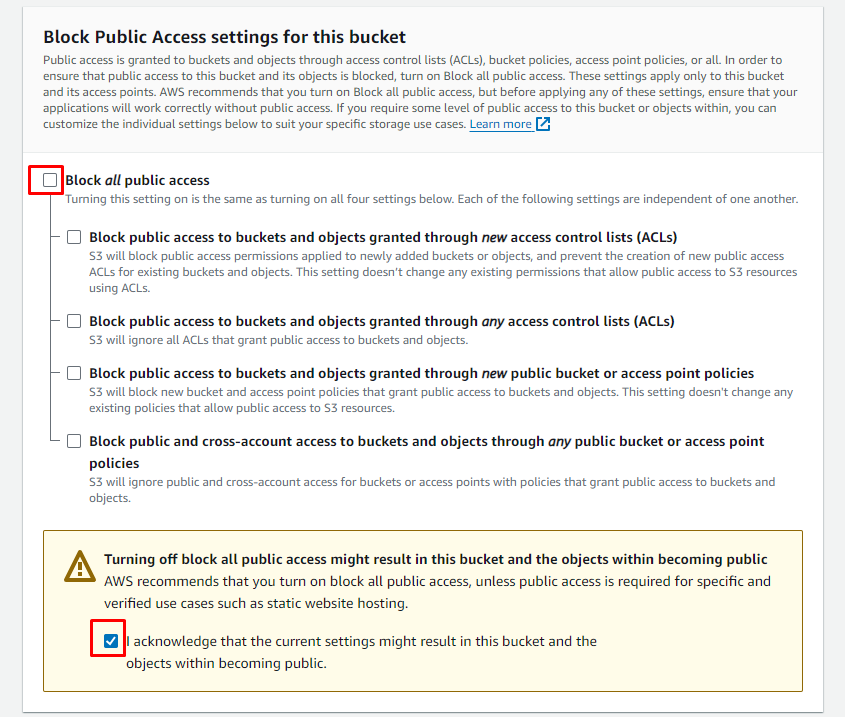
Keep everything default and click on Create Bucket button. 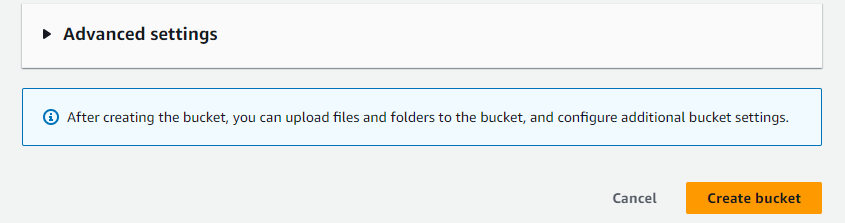
Enable Static Website hosting settings
Click vào Bucket vừa tạo -> Click Tab Properties. 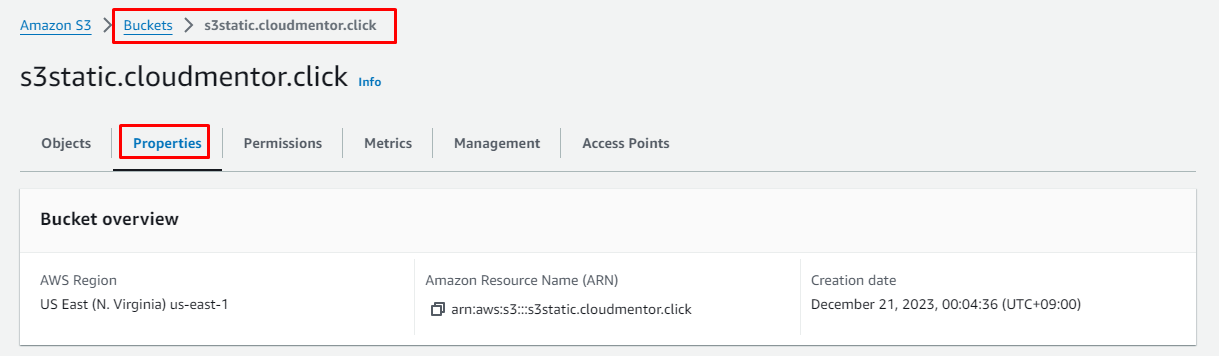
Scroll down to the Static website hosting section and click on Edit button. 
In the Static website hosting dialog box
Static website hosting: Select Enable
Hosting type: Choose Host a static website
Index document: Type index.html
Error document: Type error.html
Click on Save Changes. 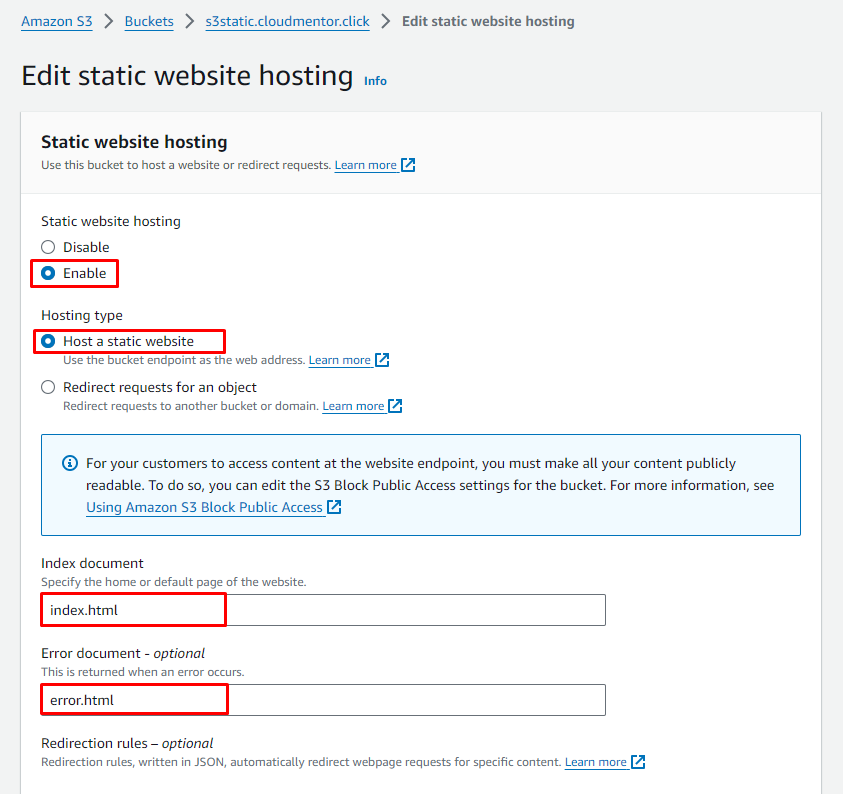
Sau khi Save Changes xong thì cũng tại Tab Properties, scroll xuống Static website hosting section. Copy Endpoint và lưu lại để lát sau chúng ta sẽ truy cập. 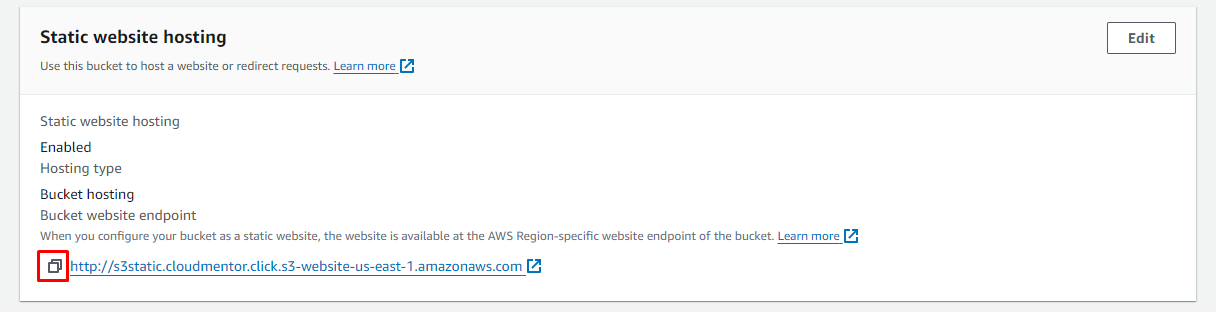
Tiếp theo chúng ta sẽ downloads 2 file index.html và error.html được cung cấp tại đây. Upload lên S3 bucket đã tạo trước đó. 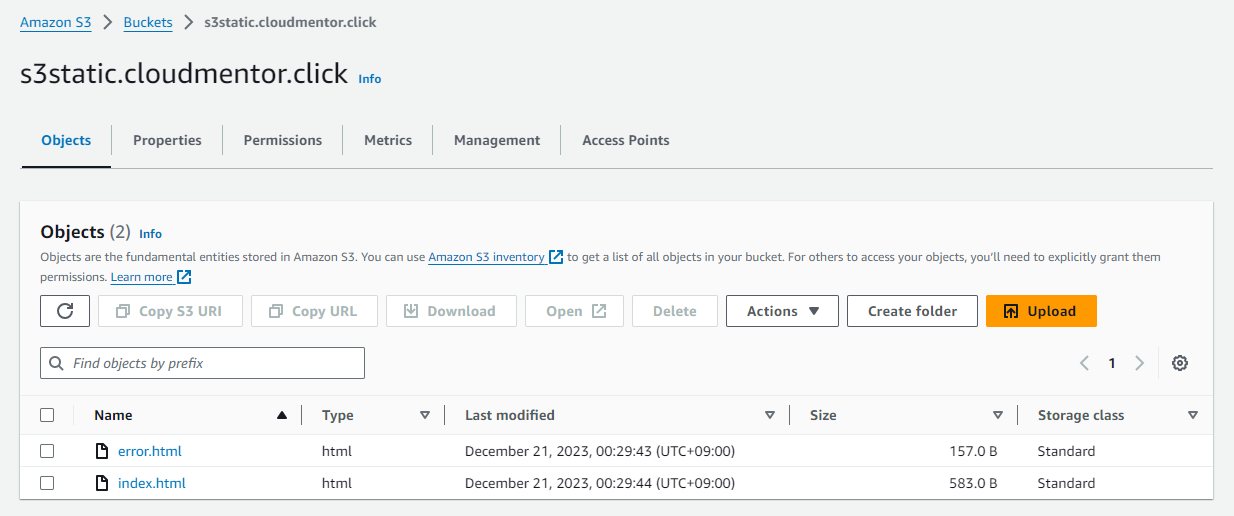
Để config quyền truy cập đến S3 bucket, access đến Permissions tab.
Click vào Edit button bên cạnh Bucket Policy. 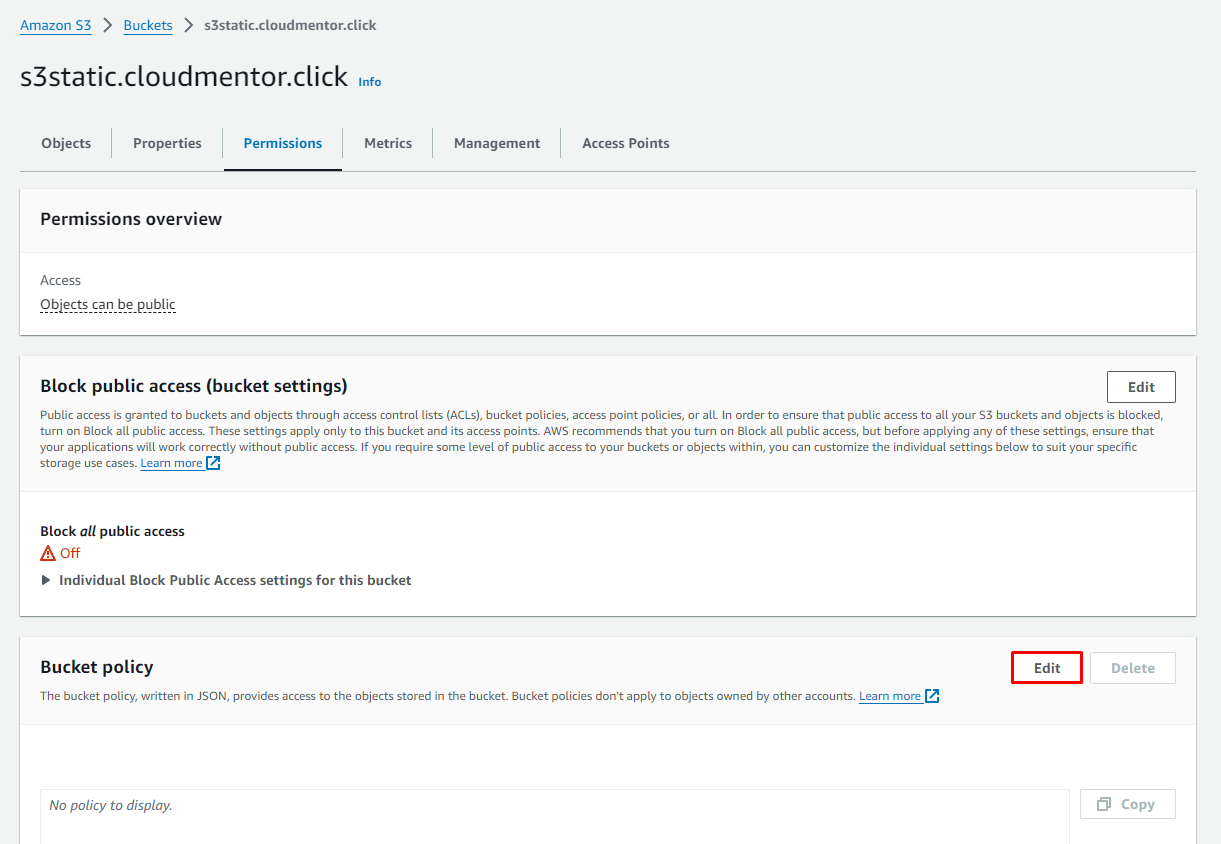
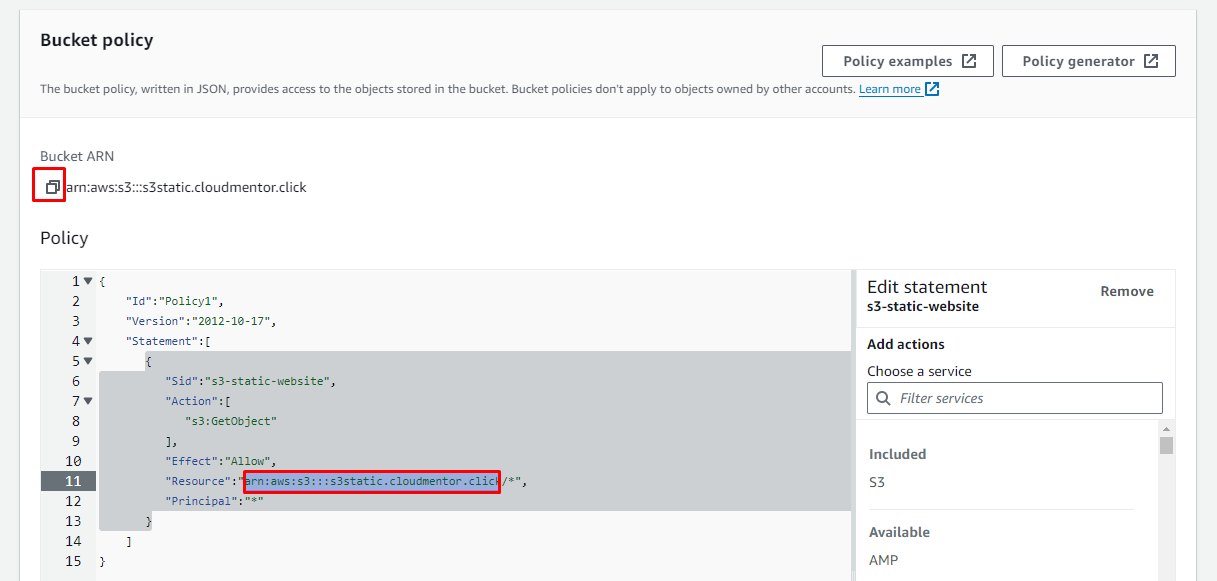
Copy Bucket ARN
Update the bucket ARN chổ Resource, sau đó paste vào editor.
{
“Id”:”Policy1″,
“Version”:”2012-10-17″,
“Statement”:[
{
“Sid”:”s3-static-website”,
“Action”:[
“s3:GetObject”
],
“Effect”:”Allow”,
“Resource”:”replace-this-string-with-your-bucket-arn/*”,
“Principal”:”*”
}
]
}
Click on Save changes button.
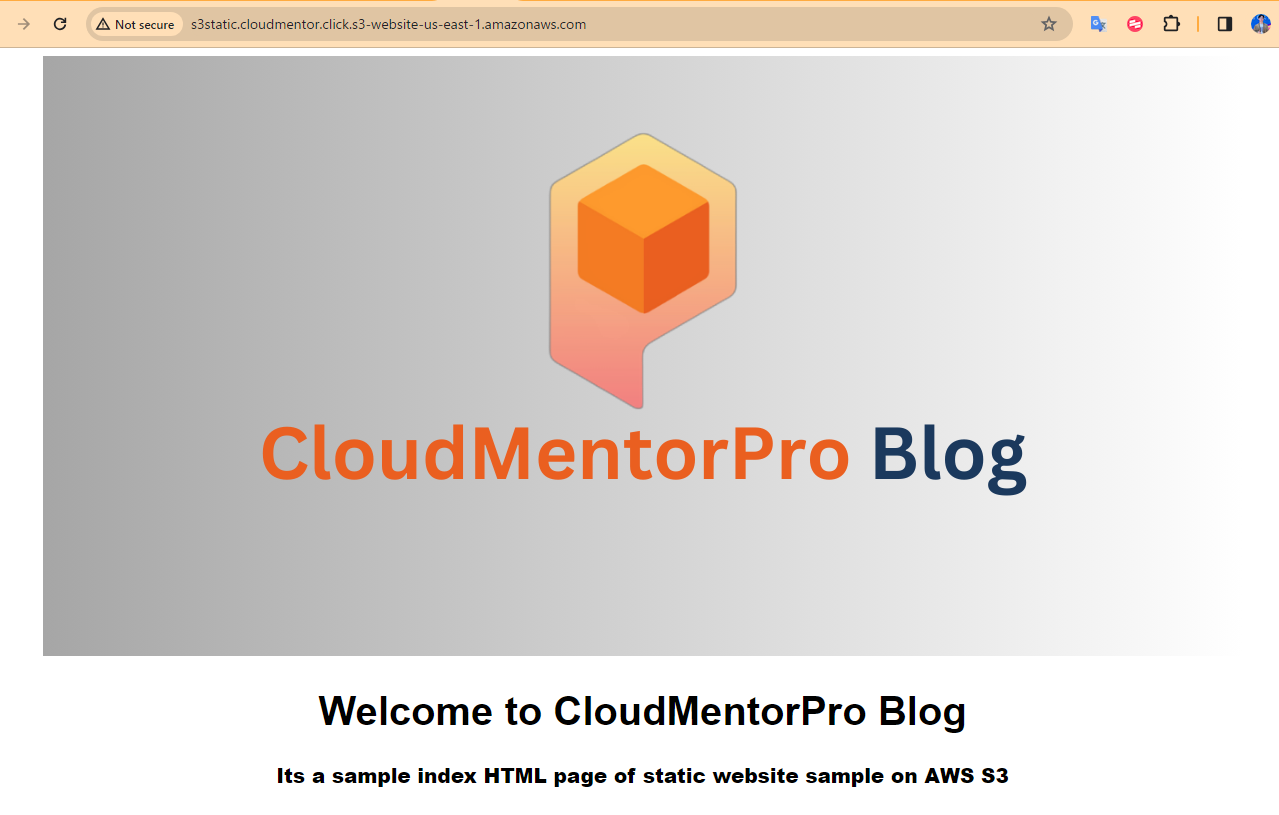
Test the website
Bây giờ chúng ta có thể sử dụng static website URL (endpoint đã copy lúc nãy). Hoặc vào Bucket, Tab Properties, scroll xuống Static website hosting section sẽ thấy URL. Truy cập URL trên Browser sẽ thấy xuất hiện nội dung file index.html:
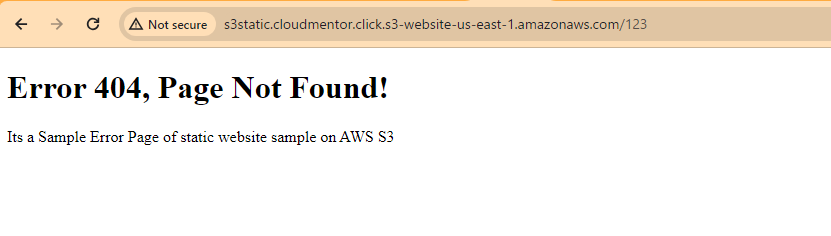
Test the website’s error page
Truy cập URL trên Browser, tuy nhiên lần này chúng ta thêm 1 vài ký tự random vào cuối url: URL + /random-characters. Chúng ta sẽ thấy nội dung file error.html được hiển thị.
Setting Route53 to access http://s3static.{domain} (Optional)
Khi mua domain ở Route 53 thì AWS cũng tạo sẵn cho chúng ta 1 public hosted zone với name là tên domain và có sẵn 2 Record NS và SOA 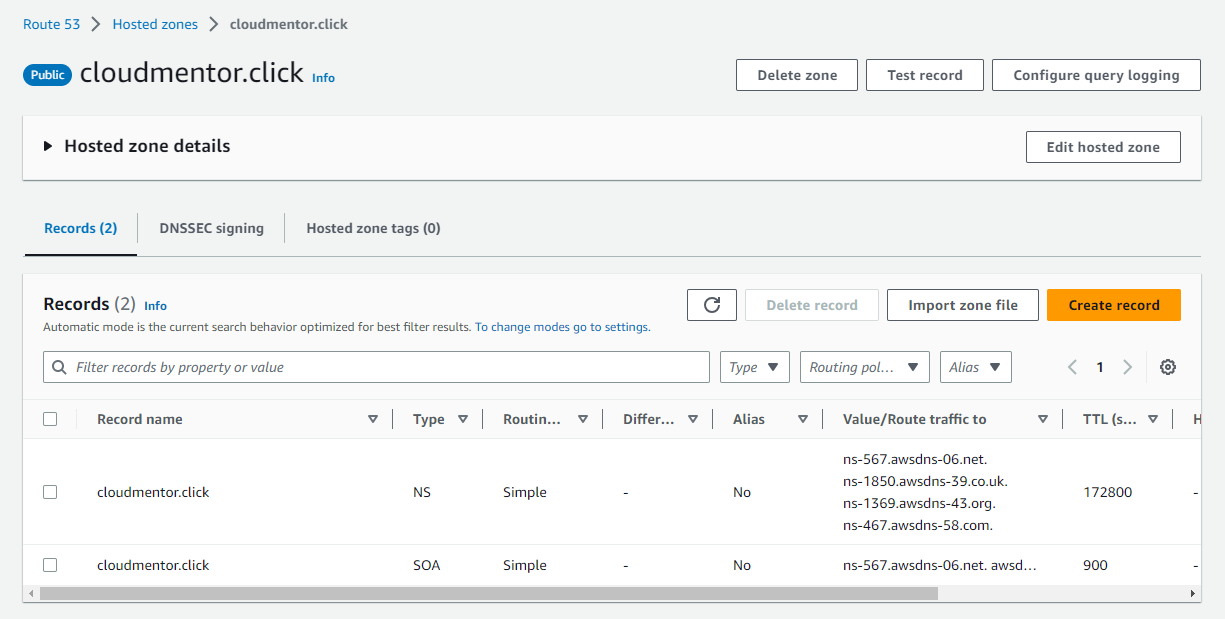
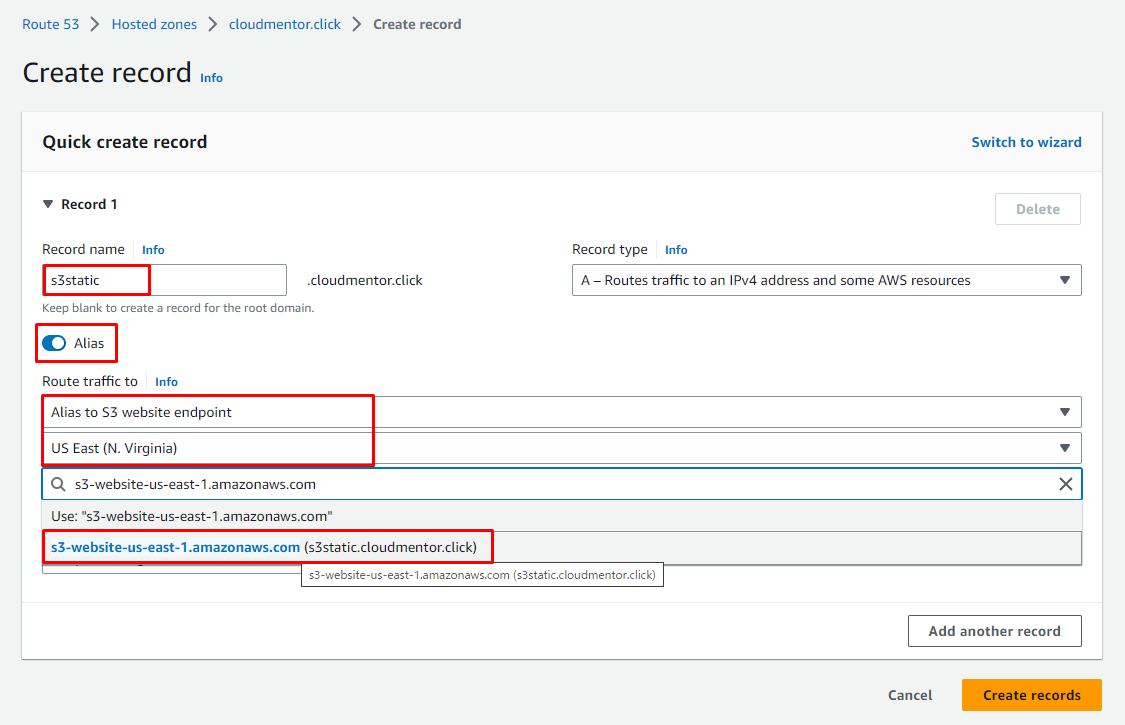
Nhấn Create record
Record name: s3static
Record type: A
Alias: Enable
Route traffic to: Alias to S3 website endpoint
Region: us-east-1
E3 Enpoint: Chọn endpoint là tên bucket
Create records
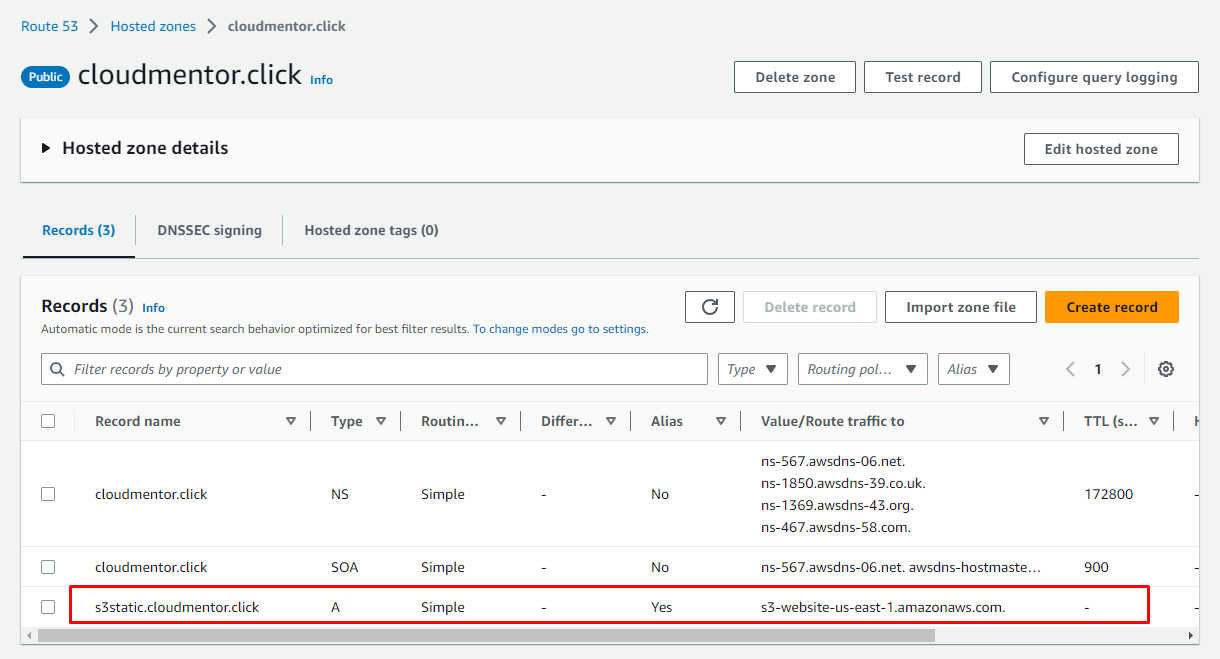
Truy cập vào subdomain vừa tạo: http://s3static.{your-domain} 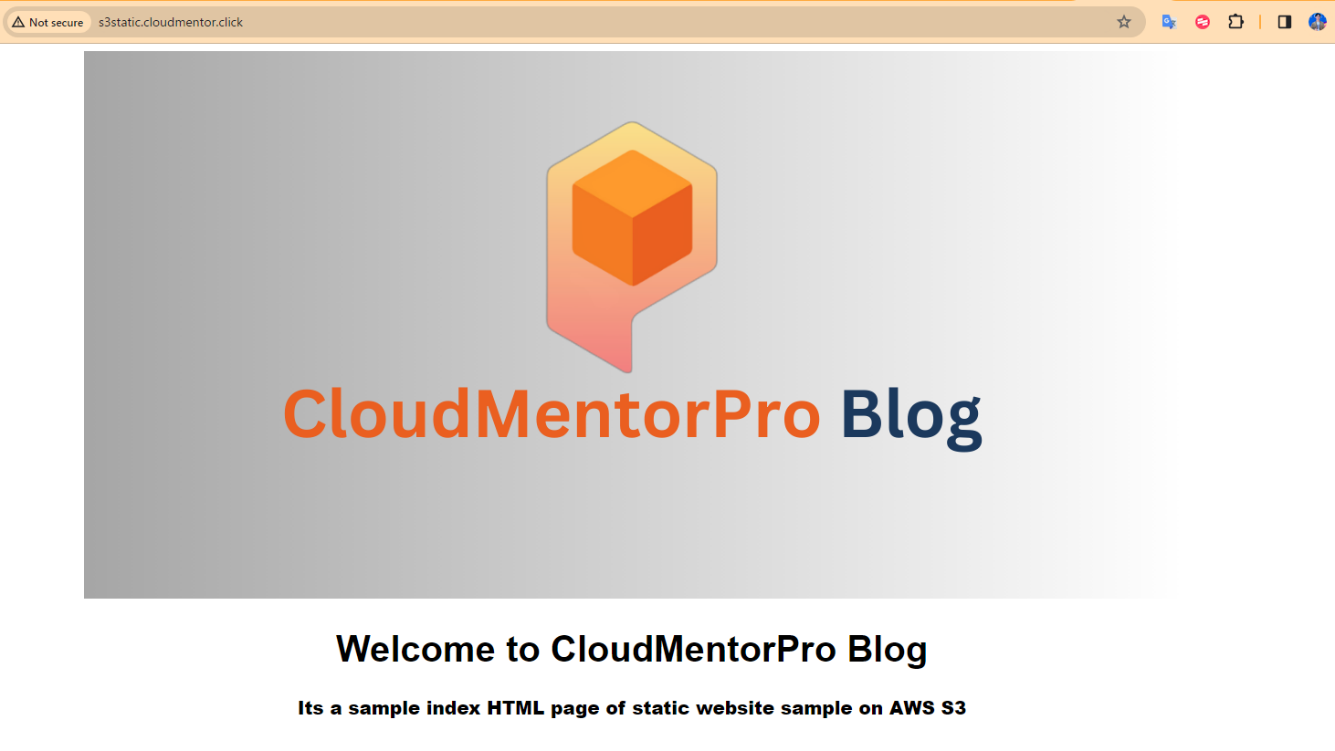
Clean up
Delete record vừa tạo ở Route53 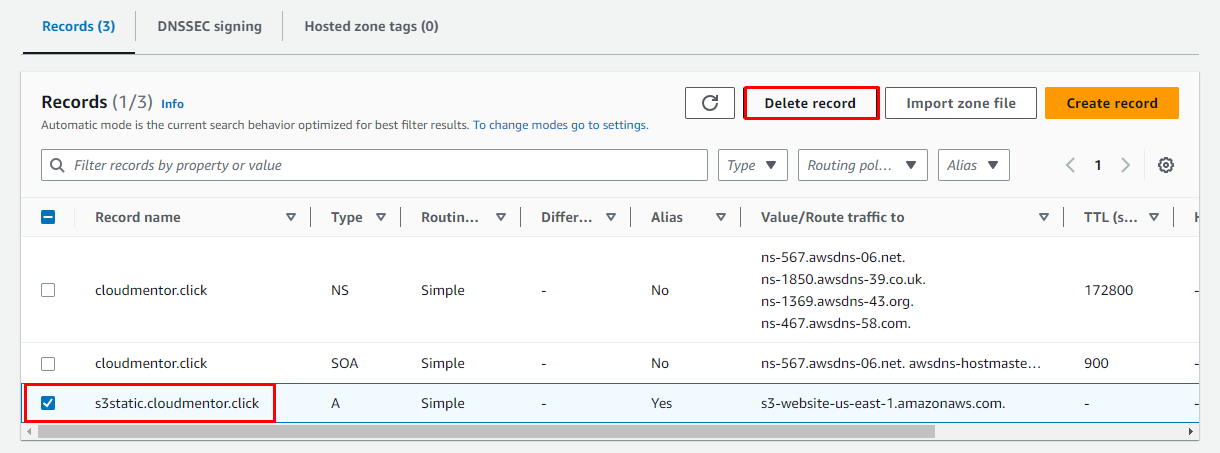
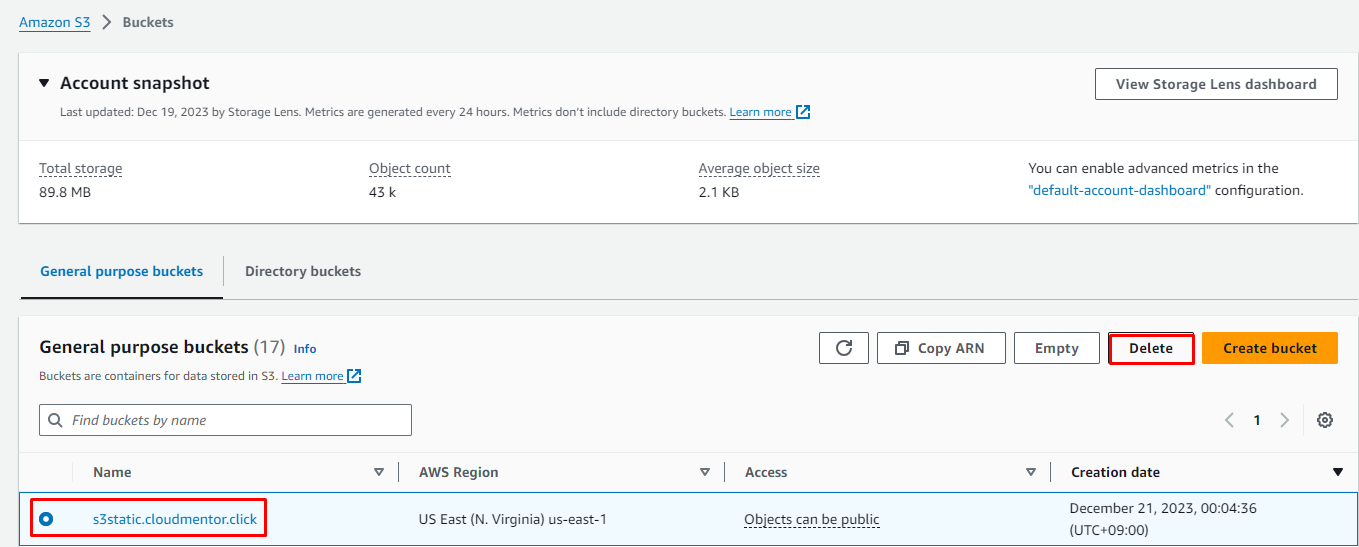
Empty Bucket 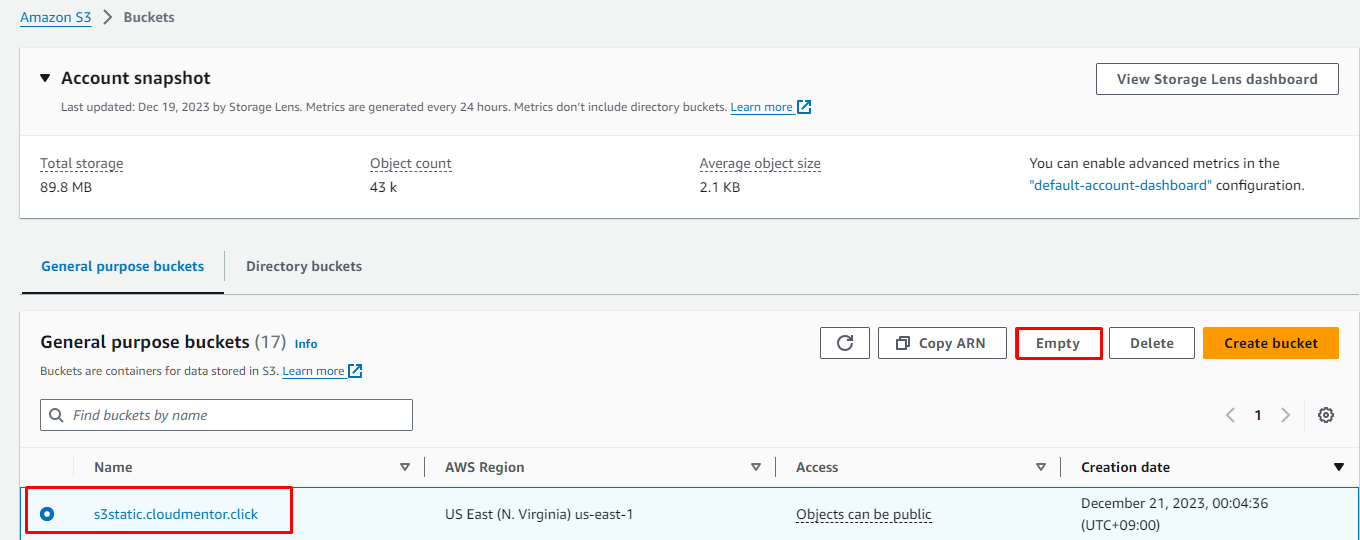
Delete Bucket